
It’s about time I shared with you my very special Rocky Road (Chunky Choc Bar / Chocolate Fridge Cake) recipe. It’s very simple to make and what’s great about it is you can try out different ingredients each time you make it. This recipe makes around 20 pieces usually – but the more fillings you add (e.g. biscuits, nuts, etc) the more it makes. In this example, I made enough for about 30 pieces!
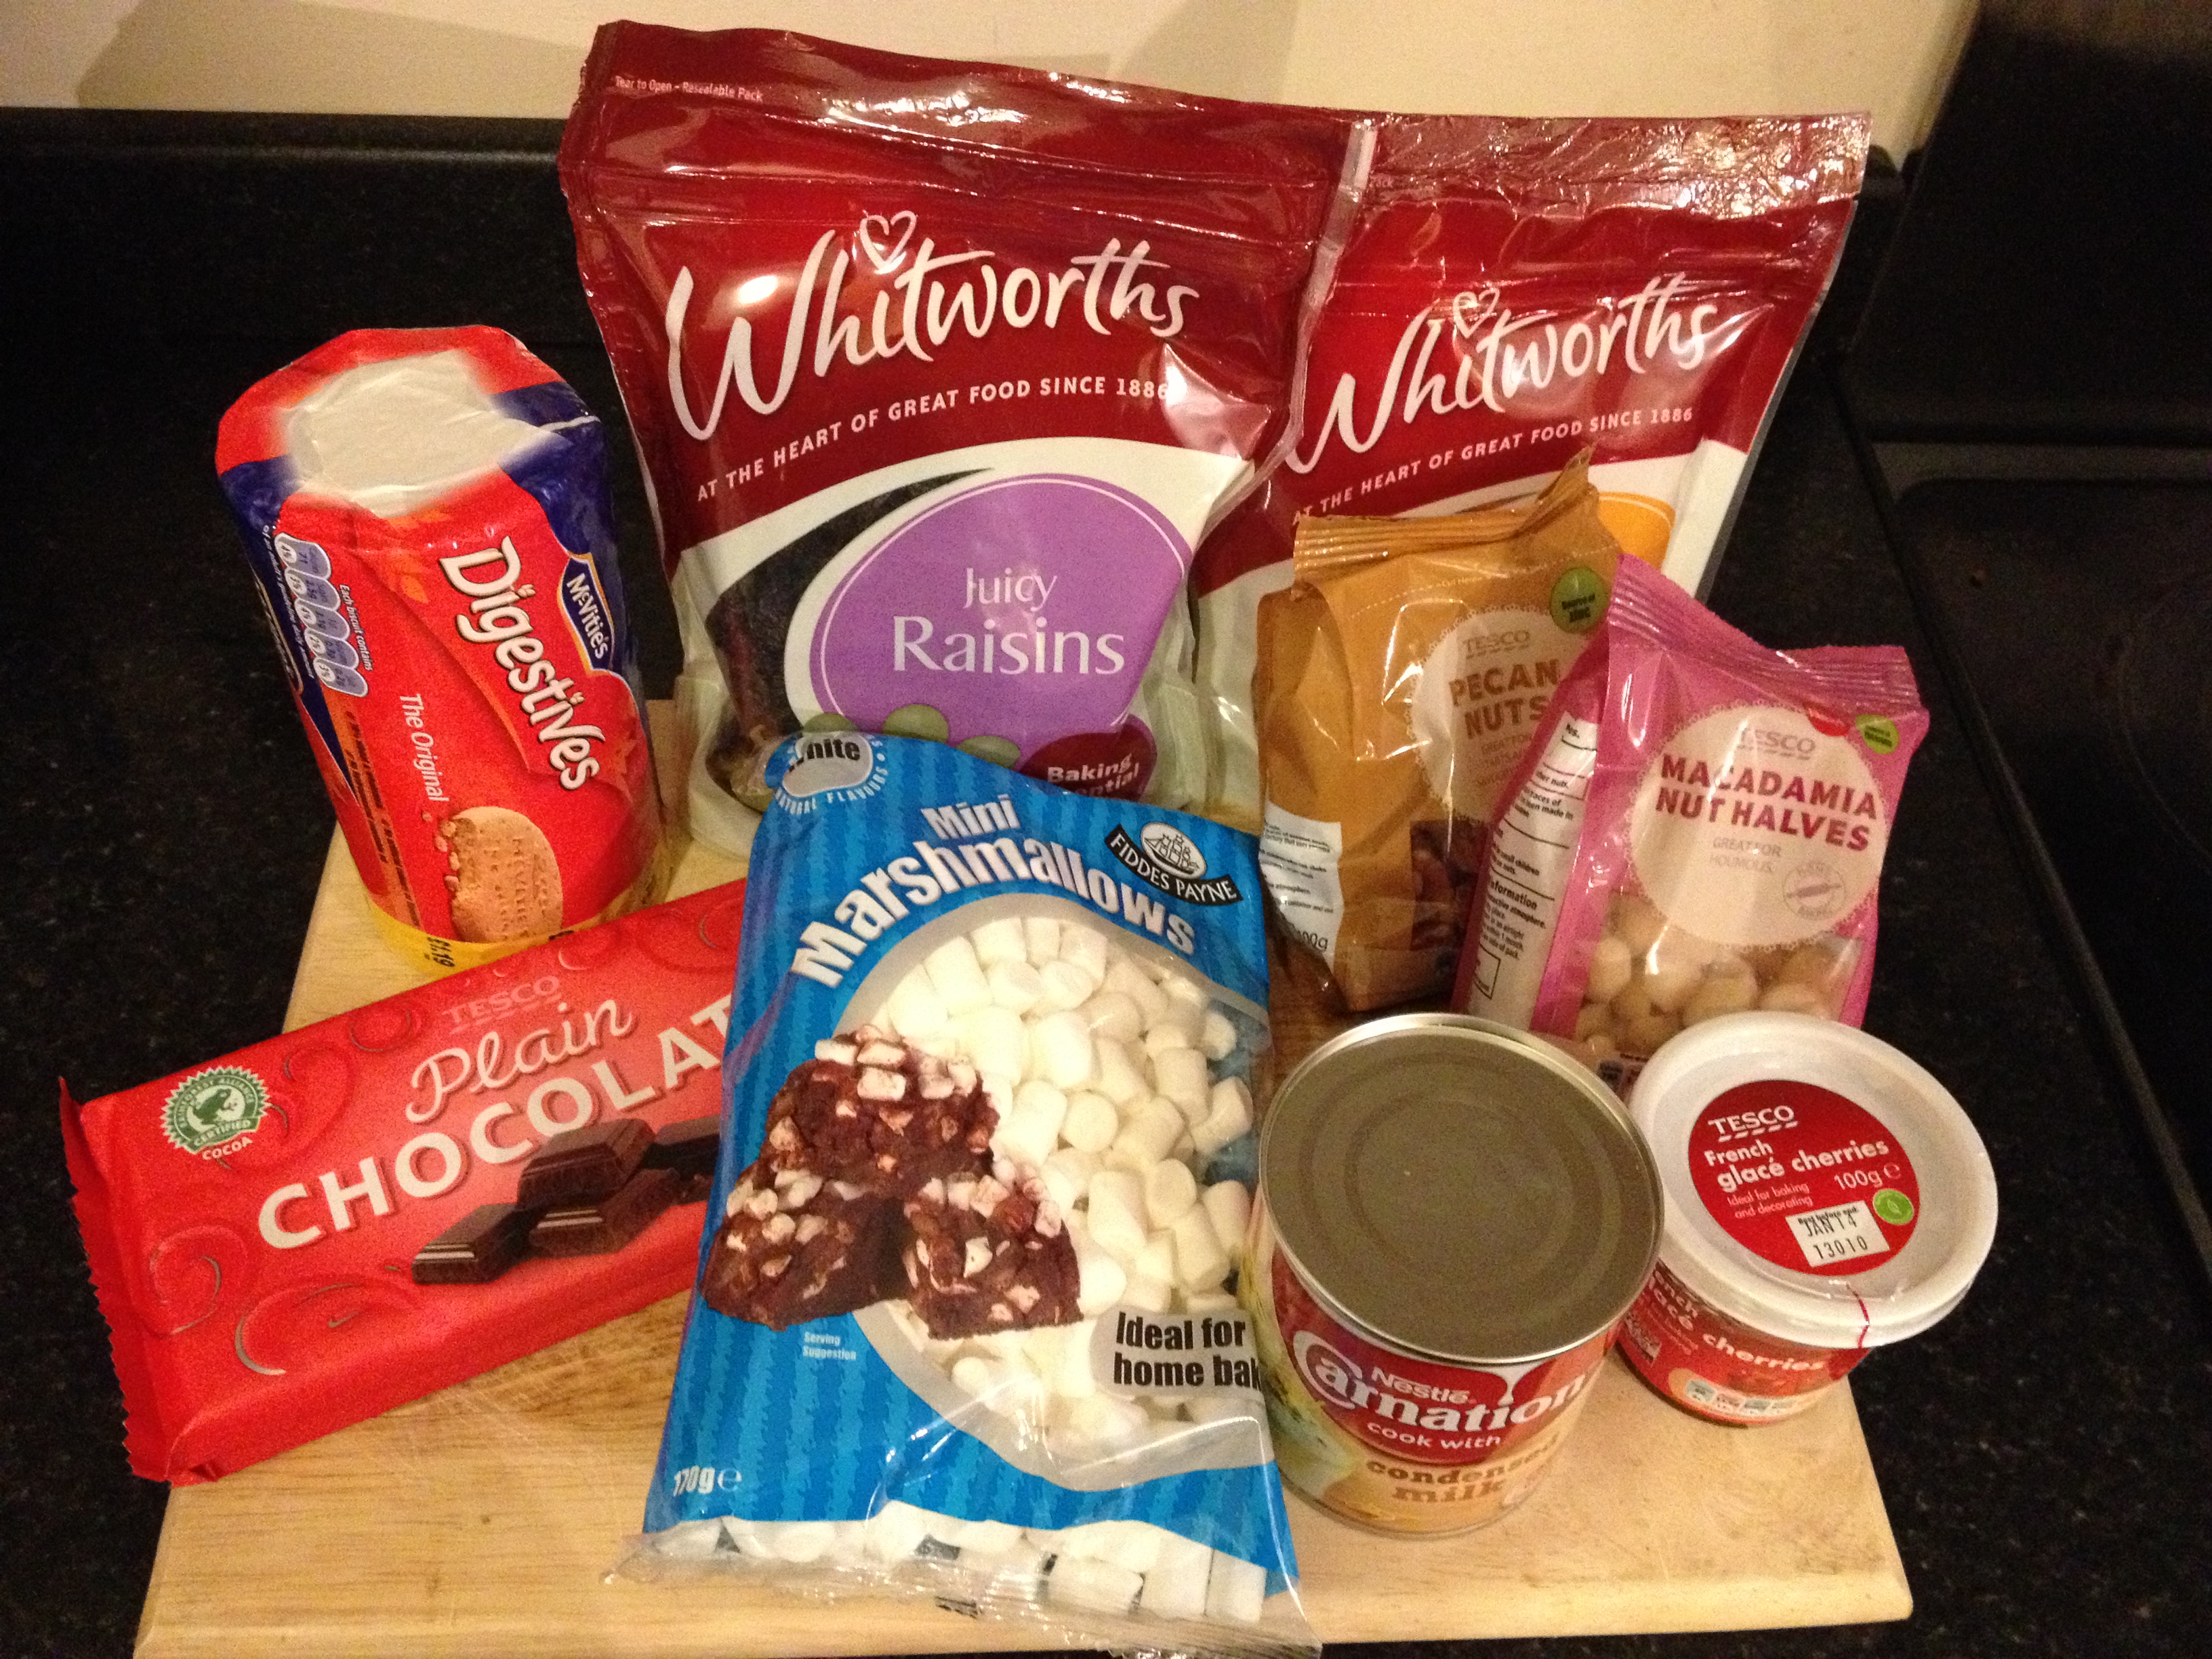
Ingredients
- 350g (12oz) plain chocolate
- 115g (4oz) butter
- 400g (14oz) condensed milk
- 1 packet of digestive biscuits
- 50g (2oz) raisins
- 115g (4oz) dried apricots or peaches
- 115g (4oz) french glacie cherries
- 50g (2oz) peacans, hazelnuts or any nut of your choice
- Couple of handfuls of mini marshmallows
Instructions
1. Line a tray with cling film – make sure the tray is big/small enough to fit on a shelf in your fridge.
2. Break the chocolate into small(ish) pieces and place in a microwavable bowl. If you prefer to melt chocolate on the hob, then set up a bain marie. As I used a microwave, I melted the chocolate first in one bowl then melted the butter in a separate bowl after.
3. Combine the melted chocolate and butter in a bowl (or in our student lifestyle case, a saucepan!)
4. Next fold the condensed milk into the mixture. You will see the consistency change quickly to a thicker jelly-like mix.

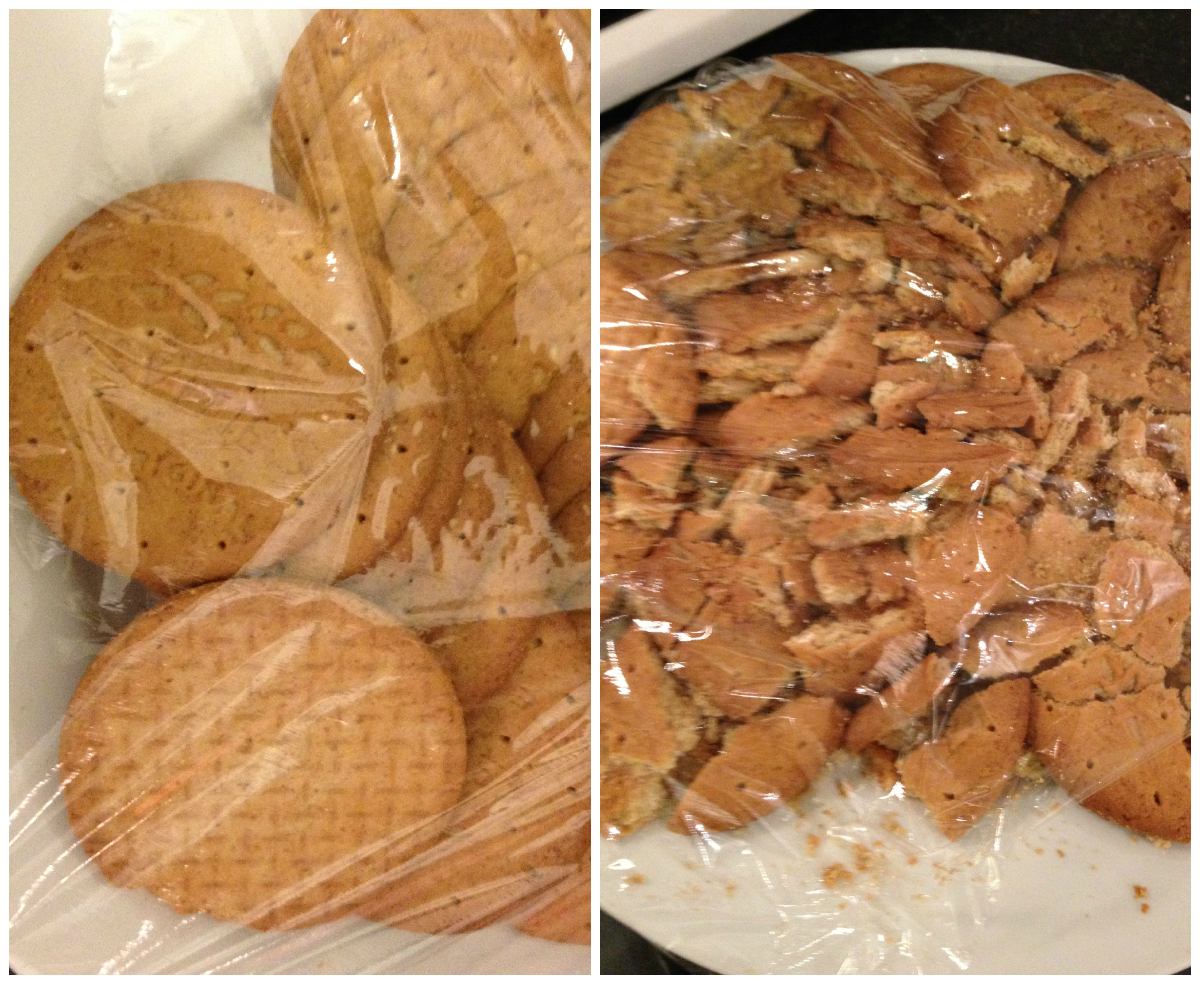
5. Next you need to break up the biscuits. On this occasion I chose McVities Digestives – but you could go for Rich Tea Biscuits, Ginger Nut, whatever tickles your fancy. Tips for breaking biscuits up include…
a) Remove biscuits out of packet, place into a sandwich/freezer bag. Tie the bag and bash the biscuits inside by using a rolling pin or similar utensil.
b) Alternatively, place biscuits on a plate and cover the plate with a layer of cling film. Then bash the biscuits under the cling film using a utensil or your hands.
Both techniques produce adequately crushed biscuits!
Next fold the biscuits into the chocolate mixture.
6. The next step is to start adding all the extra fillings. I chose to add the marshmallows first, in order to make sure I added the right amount to suit my preference. Next I added the cherries and nuts. My nuts of choice on this occasion were pecans and macadamia!

7. As one of my housemates isn’t keen on dried fruits I took out a third of the mixture and placed into one side of the tray for chilling. After that I added raisins and dried apricots to the remainder of the mixture. Once I’d thoroughly mixed all the ingredients together I placed the rest of the mixture in the other side of the tray!
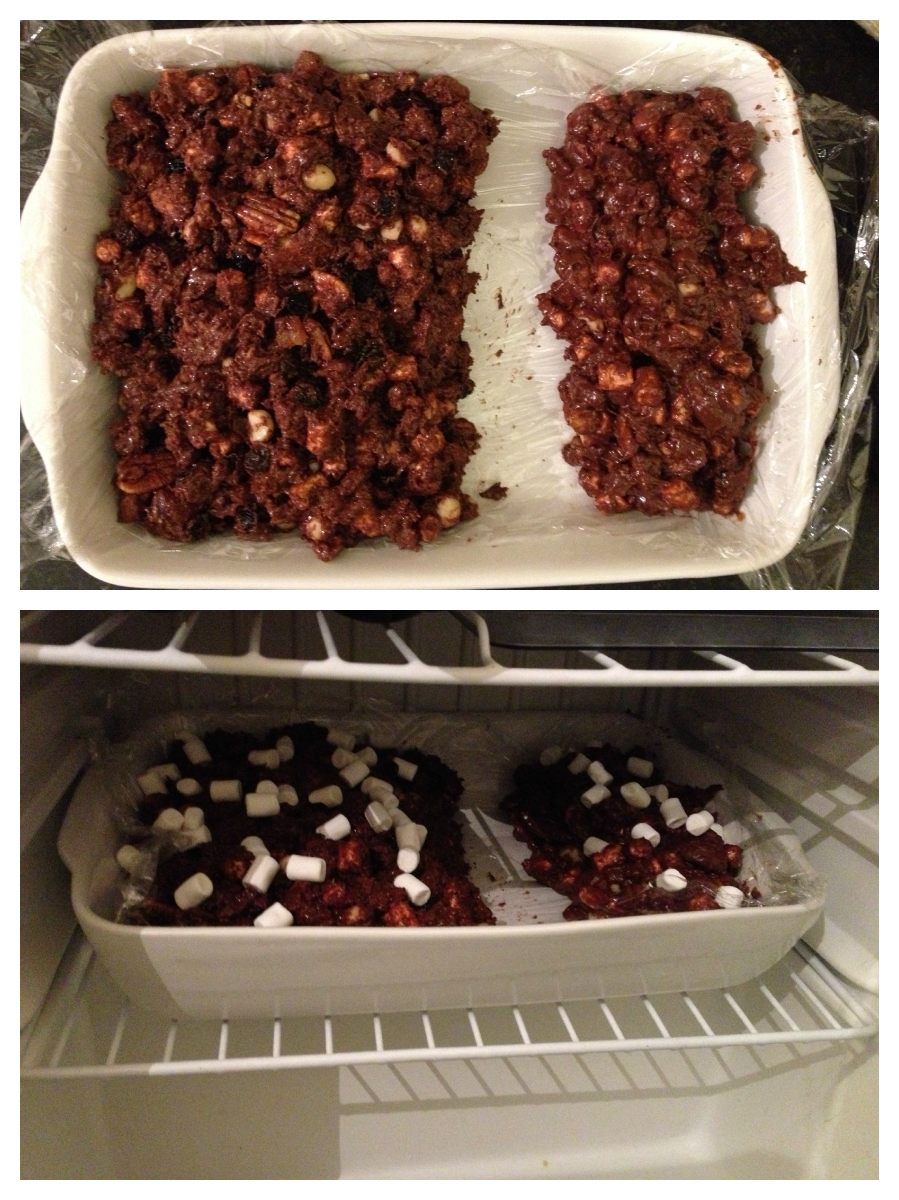
8. Place the Rocky Road in the fridge and leave for about 12 hours. It doesn’t take this long to cool, but it’s best to leave it overnight before cutting.
9. Lift the Rocky Road out of the tray by picking up the edges of the cling film. Cut the Rocky Roads into one person portions. I prefer to have them cut into small squares (or cubes) but it’s up to you what size you want.
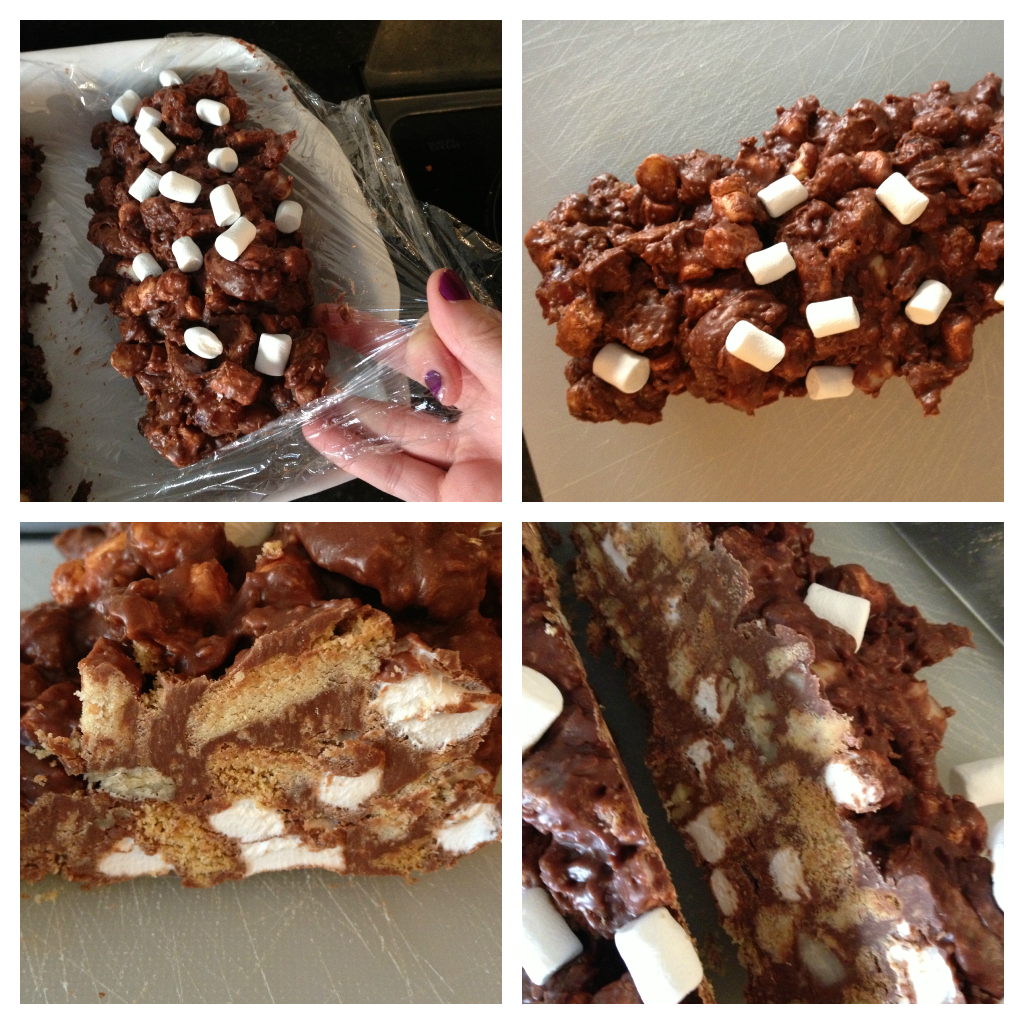 Rocky Road without dried fruit pictured above
10. Serve the Rocky Roads at room temperature and store in a cake tin or Tupperware at room temp also.
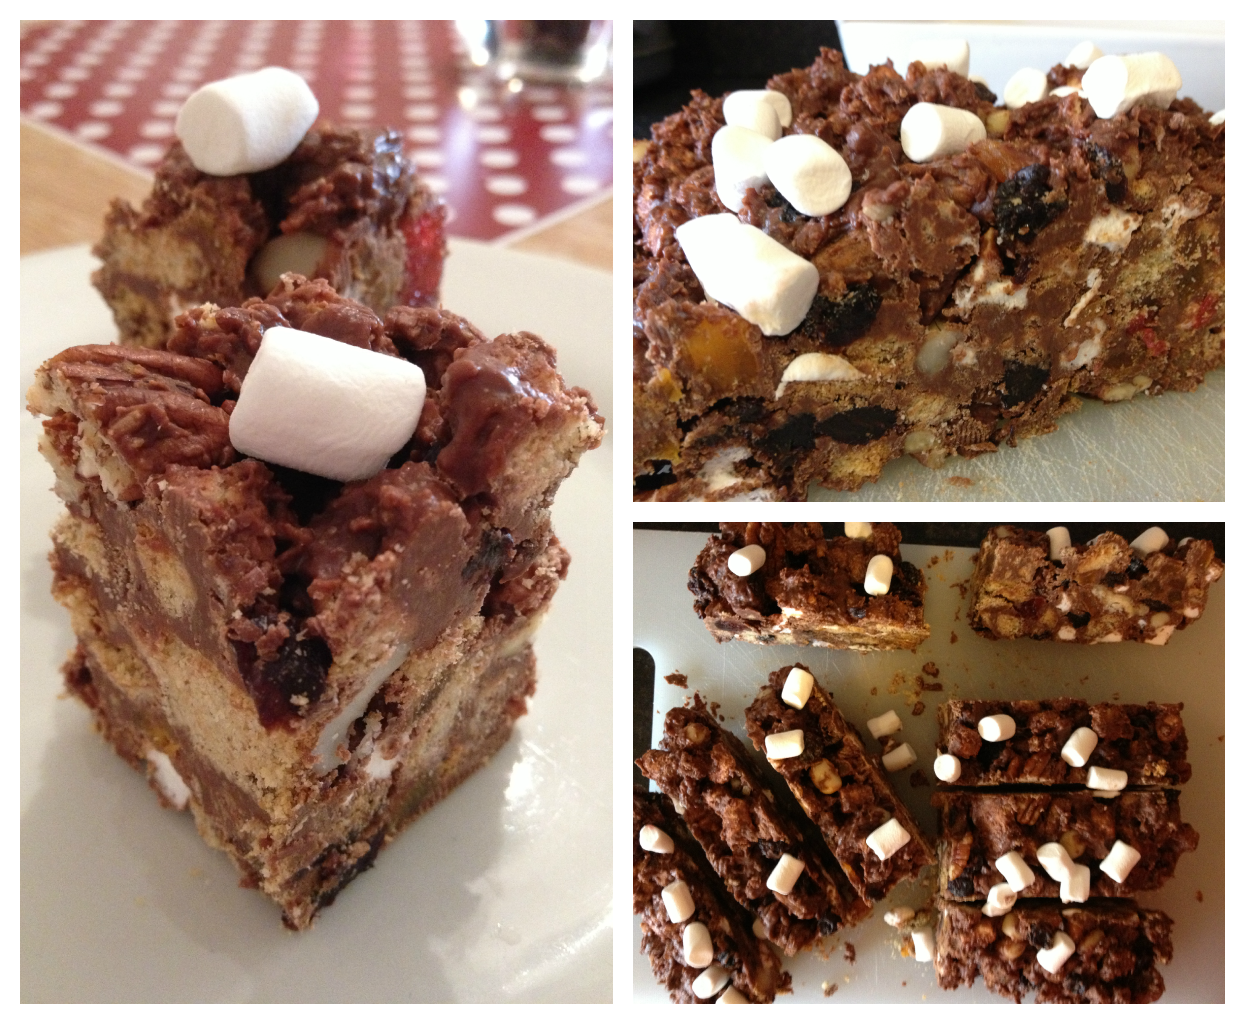 Rocky Road with dried fruit pictured above
There you have it! Enough Rocky Road to keep all your friends and family happy.
